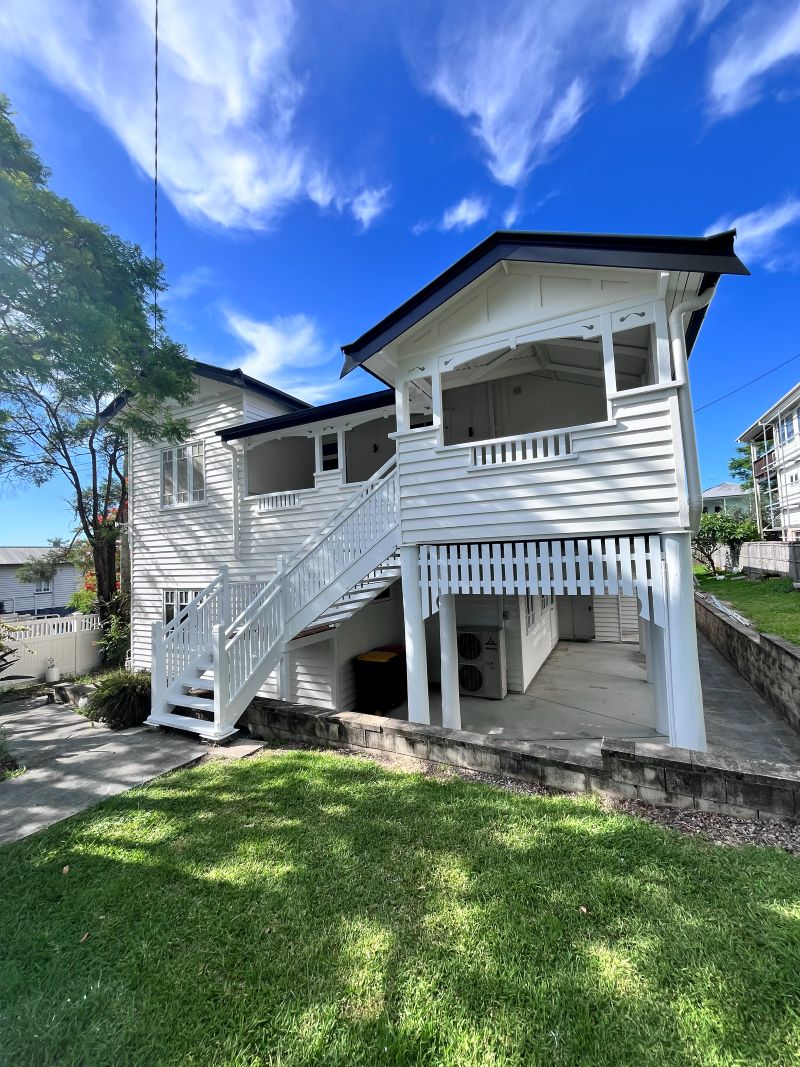
A Queenslander does not repaint like a brick house. The walls are timber, the boards move with the weather, and the paint on them can be decades deep. Owners across the Redlands and Bayside ask us the same thing before they commit: what actually happens to the house between the quote and the last coat?
This is the stage by stage answer, from the weatherboards outside to the VJ walls inside.
The short version
- Most of the work on a Queenslander is preparation, not painting.
- Old paint on weatherboards has to come back to a sound, sanded surface before any primer goes on.
- Bare and patchy timber gets primed before the topcoats, or the finish will not last.
- Rotted boards are replaced by a carpenter before we paint. We are painters, not carpenters.
What is involved in painting a Queenslander
Painting a Queenslander runs in five stages: we walk the house and check the timber, we clean it down, we scrape and sand back the failing paint, we prime the bare timber, then we put the topcoats on. The verandah, the fretwork and the lattice are done by hand as their own piece of work.
The order matters. Every stage below is there because skipping it shows up on the timber.
Before: what old paint on a Queenslander looks like
On the houses we quote, the giveaway is the north and west weatherboards. The paint there has usually gone chalky, and it lifts at the bottom edge of each board where the sun hits hardest. Run a hand across it and the film comes off on your fingers.
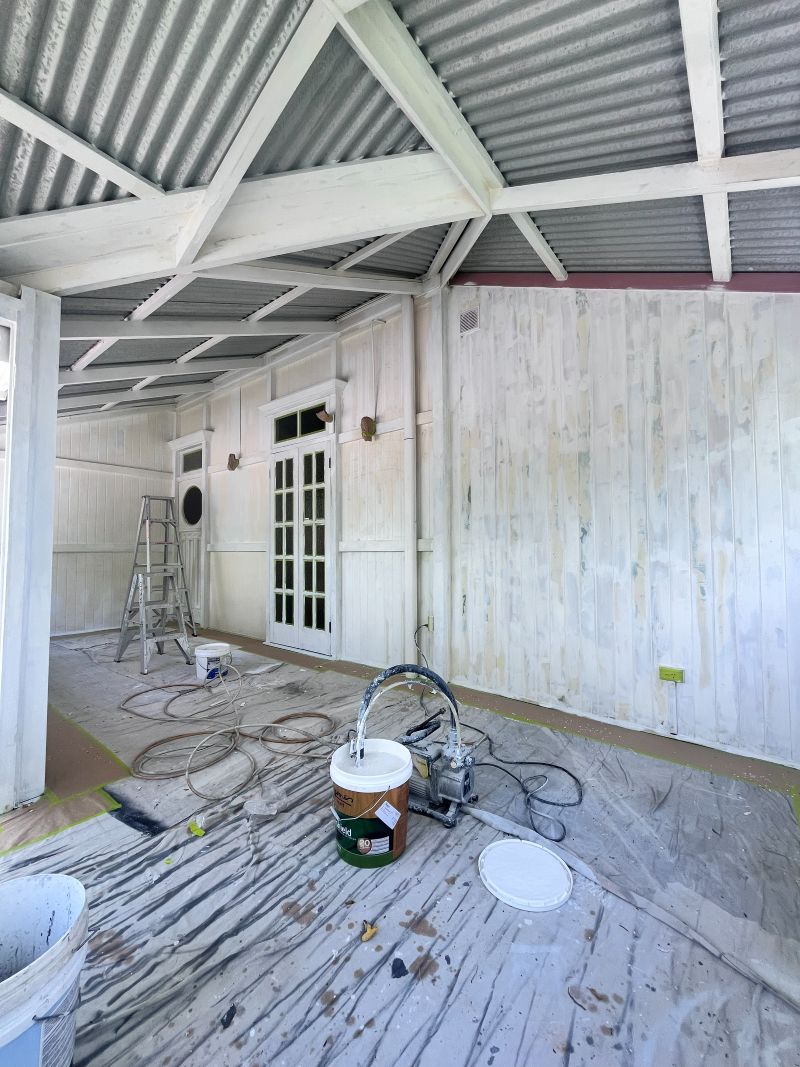
Inside, the VJ boards tell a different story. The paint is usually sound but tired, with brush marks from an earlier repaint sitting across the grooves, and the tongue and groove joints filled with paint that has bridged and cracked.
Fascias, bargeboards and verandah posts are where we find the real problems. Those are the timbers that stay wet longest and dry slowest, and they are the ones most likely to have a board that has gone soft.
How we prepare weatherboards, fascias and verandah timber
The house gets washed down first, then scraped. Every bit of paint that is lifting comes off, and the edge left behind gets feathered back by sanding so you cannot see a step through the new coats.
Where a board has gone past scraping, we say so at the quote rather than at the end. A rotted weatherboard, a split fascia or a verandah post that has gone soft at the base needs replacing by a carpenter before we paint. We will point out exactly which boards, so you can get that organised and we can book the paintwork around it.
Once the timber is sound and sanded, gaps at the board ends and around window frames are caulked, and nail holes are filled.
Lead paint on an older Queenslander
Older Queenslanders can carry lead based paint under the later coats, which is why nobody should take a power sander to original weatherboards without checking first. We test before we sand, and where lead is present the paint is removed under lead safe practice rather than sanded dry into the garden.
Lead paint removal is part of what we do, and it is worth raising at the quote if the house has never been stripped back. It changes the method, the containment and the time on site.
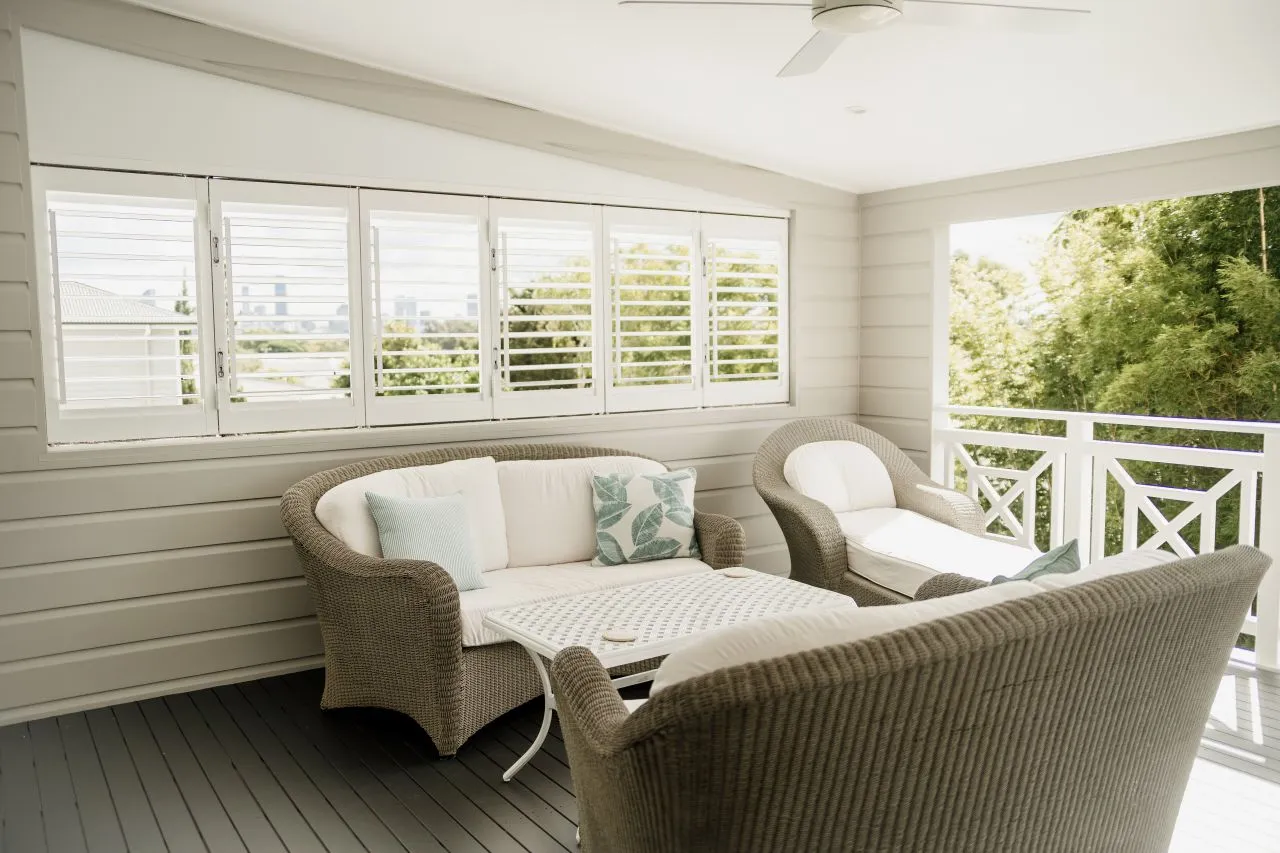
Painting VJ walls and ceilings inside a Queenslander
VJ walls are slow, and anyone who tells you otherwise has not cut in a hundred grooves. Each groove has to be brushed before the flat of the board is rolled, or the groove reads as a dark line once the wall dries.
We sand the boards back to take the shine off, fill the nail holes, then cut in and coat. Ceilings, picture rails, architraves and door frames are cut in by hand for the same reason. It is the grooves and the edges that decide whether an interior looks repainted or restored.
The verandah, the fretwork and the lattice
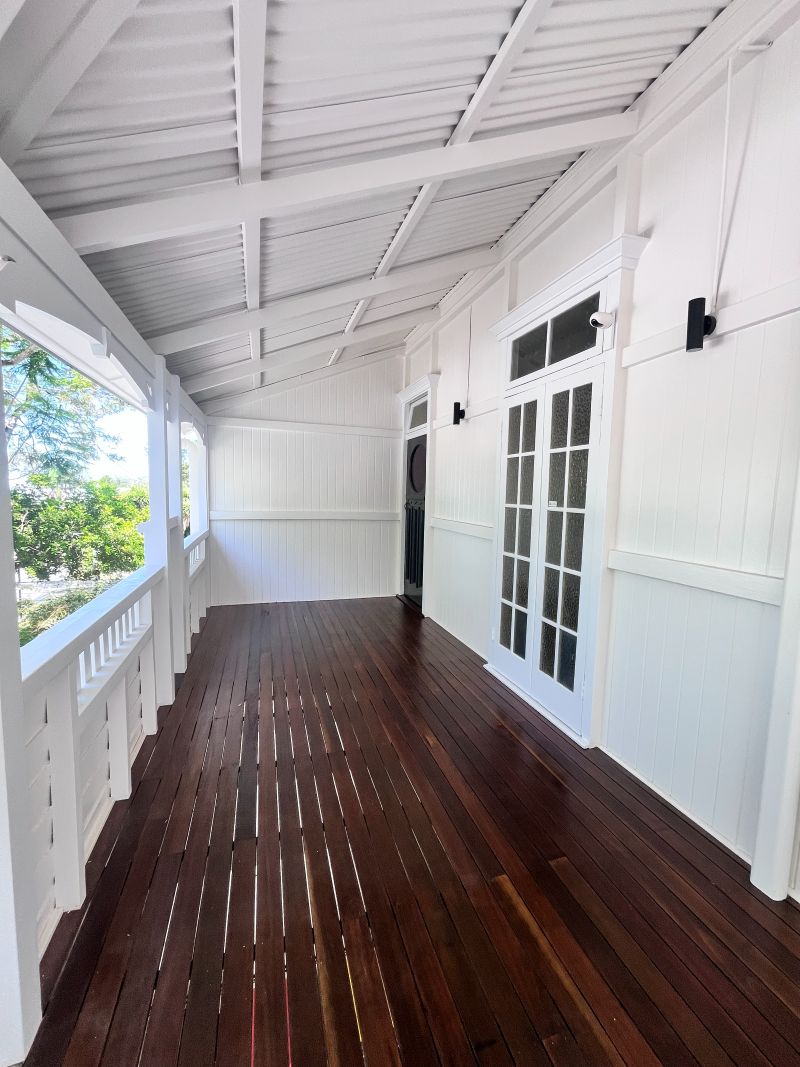
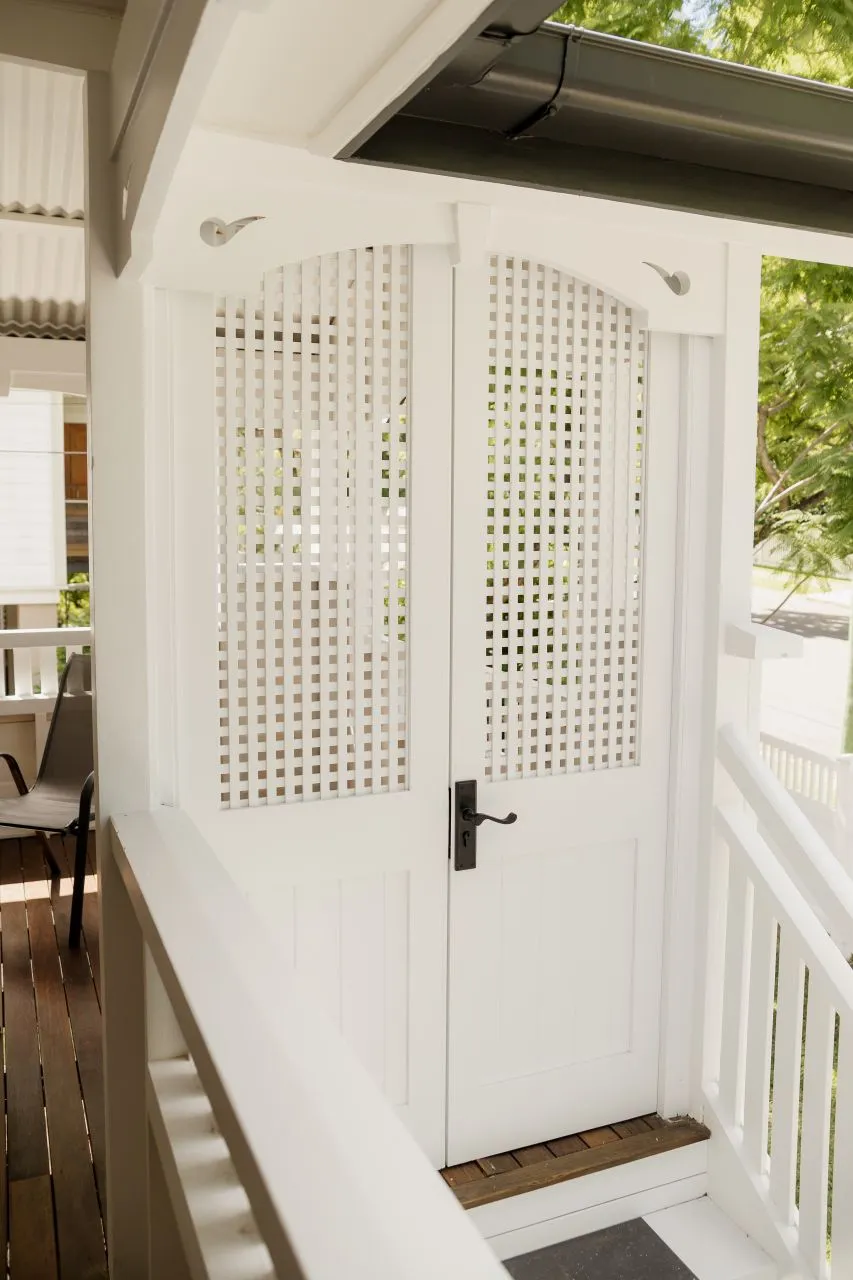
The verandah is the part of a Queenslander people photograph, and it is the part with the most edges. Fretwork, brackets, balustrades, lattice and the underside of the verandah roof are all brushwork.
Lattice in particular is a hand job. Spraying it fills the gaps and leaves runs on the back face, so we brush it, and we allow the time for it. If your verandah timber is oiled or stained rather than painted, that is a different finish again, and our timber and deck painting page covers how we handle it.
Primer and how many coats a Queenslander repaint takes
Every bare or patchy area gets a primer before the topcoats. On timber that has been scraped back, primer is what the finish holds on to. Without it, the new paint sits on old chalk.
After the primer, the standard on an exterior repaint is two topcoats. A strong colour change, or timber that has been stripped right back, can take more. We will tell you at the quote if the colour you have picked is going to need a third coat, so it is in the price rather than a surprise later.
If you are still choosing colours, our guide to the best whites and greys for Queensland light is worth reading before you buy sample pots. Queensland sun does unkind things to a colour that looked right on a card indoors.
After: what the house looks like when the repaint is finished
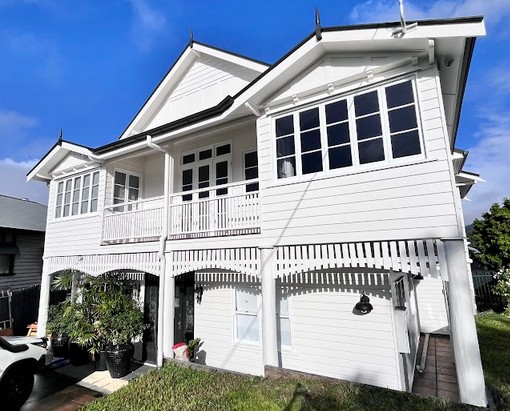
The change owners notice first is the line. Fresh paint on a properly sanded weatherboard gives you a clean shadow line down every board, instead of the broken, flaking edge that was there before. The fascias read straight again. The fretwork stands out from the wall behind it because it has been cut in rather than rolled over.
Inside, the VJ grooves go from dark and clogged to even.
On the Queenslanders we finish, the difference is nearly always in the details rather than in the colour.
What changes the price of painting a Queenslander
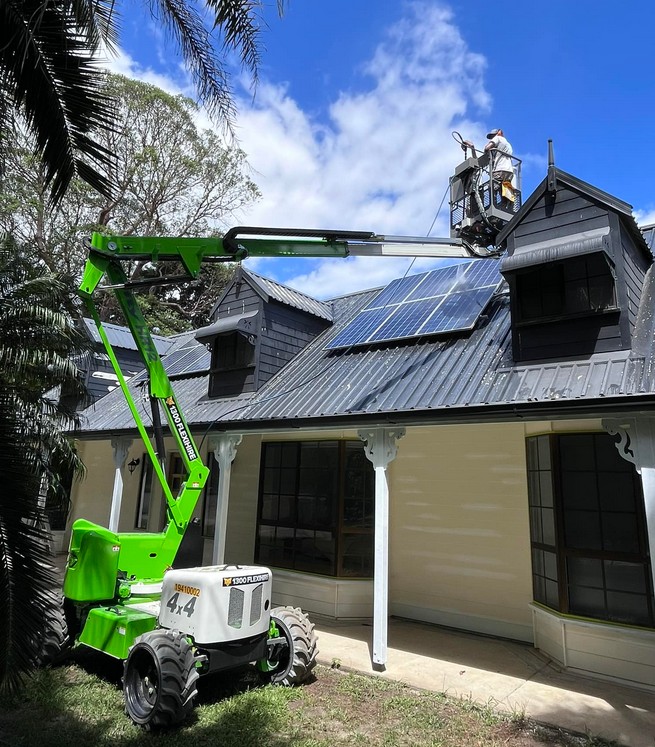
We quote each house after looking at it, because on a Queenslander the price is set by the condition of the timber, not by the floor area. The things that move it are: how much paint is failing and has to come off, how much bare timber needs priming, whether lead paint is present, how much fretwork, lattice and verandah detail there is, the access and the height, and whether you are changing colour.
We will not quote a Queenslander over the phone. Ask us for a written quote and you will get the stages and the inclusions in writing. You can see the full scope on our Queenslander painting and restoration in the Redlands and Bayside.
One thing worth knowing early: we only take on a limited number of Queenslander restorations at a time, because the prep is slow and we will not rush it. If you are planning a repaint for the warmer months, get the quote in early.
Frequently asked questions about painting a Queenslander
How long does painting a Queenslander take?
It depends on how much preparation the timber needs, the amount of verandah and fretwork detail, and the weather. We give you the expected number of days in the written quote once we have looked at the house, and we tell you if rain pushes it out.
Do you repair rotted weatherboards before painting?
No. We are painters, not carpenters. We identify the boards that need replacing and point them out at the quote, then a carpenter replaces them and we paint once the timber is sound.
Can you match the original colour scheme on a Queenslander?
Yes. We can work to a period appropriate scheme with contrasting trims and highlights, or to a colour you have chosen yourself. Bring us a photo or a sample and we will work from it.
Do I have to move out while you paint?
Not for exterior work. For interior VJ walls and ceilings we work room by room so you can stay in the house, and we talk through which rooms are out of action on which days before we start.
Getting a quote
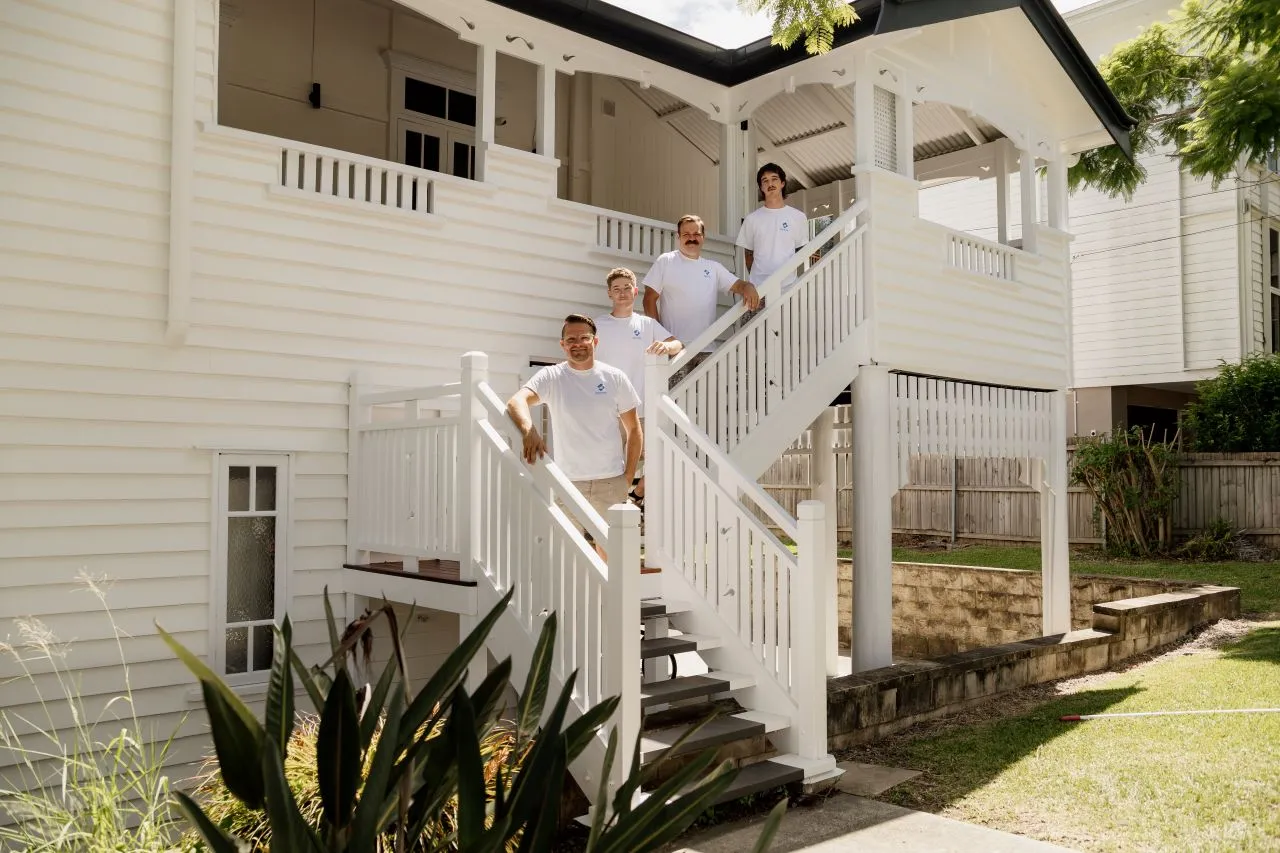
Barton’s Painting and Decorating has been repainting and restoring Queenslanders across the Redlands and Bayside since 2015, with our own crew rather than subcontractors, licensed with the QBCC (licence 15315253) and fully insured.
If you have a Queenslander you are thinking about, call 0434 575 623 or send us the details through the contact page and James or the team will come and look at the timber. Photos of the worst sections help.